Image
The control is used to display images.
In XAML
Note that you will need to put the image into each platform.
<Image Source="logo" />
The logo.png image was added to the Android drawable folder and on iOS into the Assets.xcassets folder.
In Code
Local image
var localImage = new Image
{
    Source = "logo"
};
Download image from the internet
var image = new Image
{
    Source = new UriImageSource
    {
        Uri = new Uri("https://i.imgur.com/OM81S7f.png")
    }
};
Scaling and Resizing the Image
We can use the WidthRequest and HeightRequest to set width and height of the image as follows :
<Image Source="logo" WidthRequest="70" HeightRequest="70" />
In addition to setting the width and height of the image, you can also set the Aspect property as follows :
<Image Source="logo" WidthRequest="70" HeightRequest="70" Aspect="AspectFit" />
The available options are : - AspectFit - Fit the set width and height and maintain the aspect - AspectFill - Fill the set width and height and maintain the apsect - Fill - Fill the set width and height
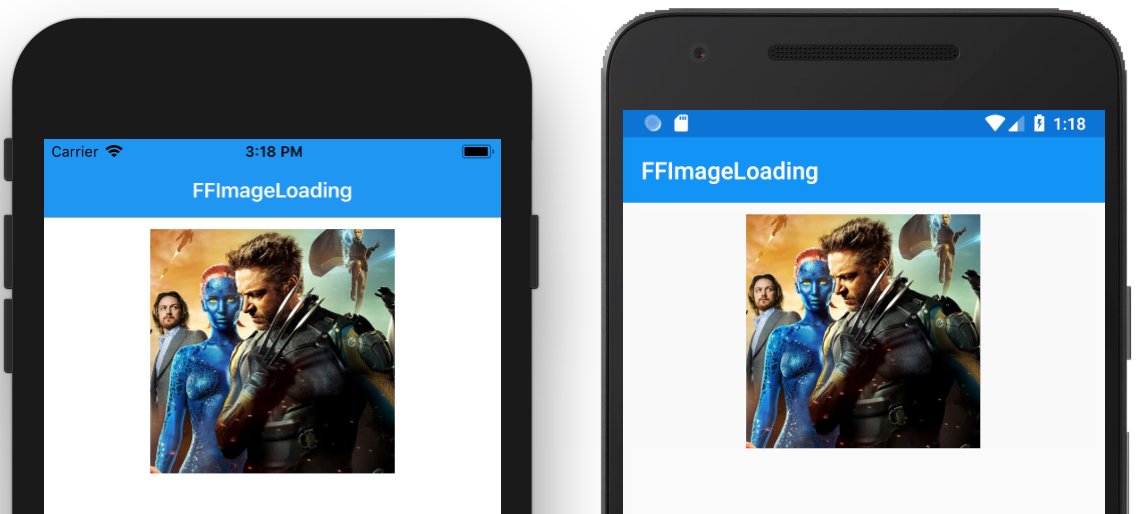
Custom library for image loading and caching
There are many available image loading and caching that provides more functionality that the default ImageView, e.g you might want to retry get the image, show a placeholder image, an error image, control the caching duration or transform the image on the fly.
We are going to use the FFImageLoading library in place of the default ImageView so we can show a placeholder image whilst we fetch images across the network.
Install the FFImageLoading
You will need to install the following packages in both Android and iOS projects and also the shard project :
- Xamarin.FFImageLoading.Forms
- Xamarin.FFImageLoading.Svg.Forms
- Xamarin.FFImageLoading.Transformations
Initialize each project
You will need run some setup code to initialize the rendered for each project.
Android
In the MainActivity.cs file add the following line :
CachedImageRenderer.Init(true);
The OnCreate method should be look like this after adding the line :
protected override void OnCreate(Bundle bundle)
{
    TabLayoutResource = Resource.Layout.Tabbar;
    ToolbarResource = Resource.Layout.Toolbar;
    CachedImageRenderer.Init(true);

    base.OnCreate(bundle);

    global::Xamarin.Forms.Forms.Init(this, bundle);

    LoadApplication(new App());
}
iOS
In the iOS project, add the following line in the AppDelegate.cs file :
CachedImageRenderer.Init();
Adding namespace
Add the namespace :
xmlns:ffimageloading="clr-namespace:FFImageLoading.Forms;assembly=FFImageLoading.Forms"
Add the image view
Once the namespace is defined you can now add the image view and customize the properties you require :
<ffimageloading:CachedImage
    WidthRequest="200"
    HeightRequest="200"
    LoadingPlaceholder="placeholder"
    DownsampleToViewSize="true"
    Source="https://peruzal-parse-media.s3.amazonaws.com/652565bb-02ad-487f-929e-78308085ca1e_4.jpg" />
Note
We have a placeholder image add to both Android and iOS projects.